Deploying TabPy on Heroku and Linking it to Tableau Cloud
This posts walks through how to quickly launch a TabPy server on Heroku and connect it to Tableau Cloud.
You can find a video walkthrough of the entire process here.
Background
A TabPy server allows you use Python in Tableau in 3 different ways:
Calculated fields (running Python dynamically as a table calculation)
Table Extensions (Python code to generate data that is used in the data model)
Tableau Prep Scripts (Python code to manipulate data in Prep)
As of today (Spring 2024), Tableau Cloud supports TabPy for calculated fields and table extensions, but not Prep.
Tableau Cloud requires TabPy to use SSL (i.e. HTTPS instead of HTTP) and mandates authentication. These are not requirements to use TabPy locally on Tableau Desktop.
Steps
In order to follow along, you need a Heroku account, and you need to be an admin on a Tableau Cloud site.
Launch the Deploy to Heroku Button
give the app a name
set username and password
In Tableau Cloud, go Settings > Extensions > Create new Connection (under Analytics Extensions)
Select TabPy and give the extension a name
Enter in hostname (which is the URL of the Heroku app that you just deployed), port 443, username and password (that you setup in step 1)
Create new workbook and save it (for TabPy to work, the workbook needs to be saved)
In the workbook, go to Analysis > Manage Analytics Extensions Connection > Select the extension from step 2
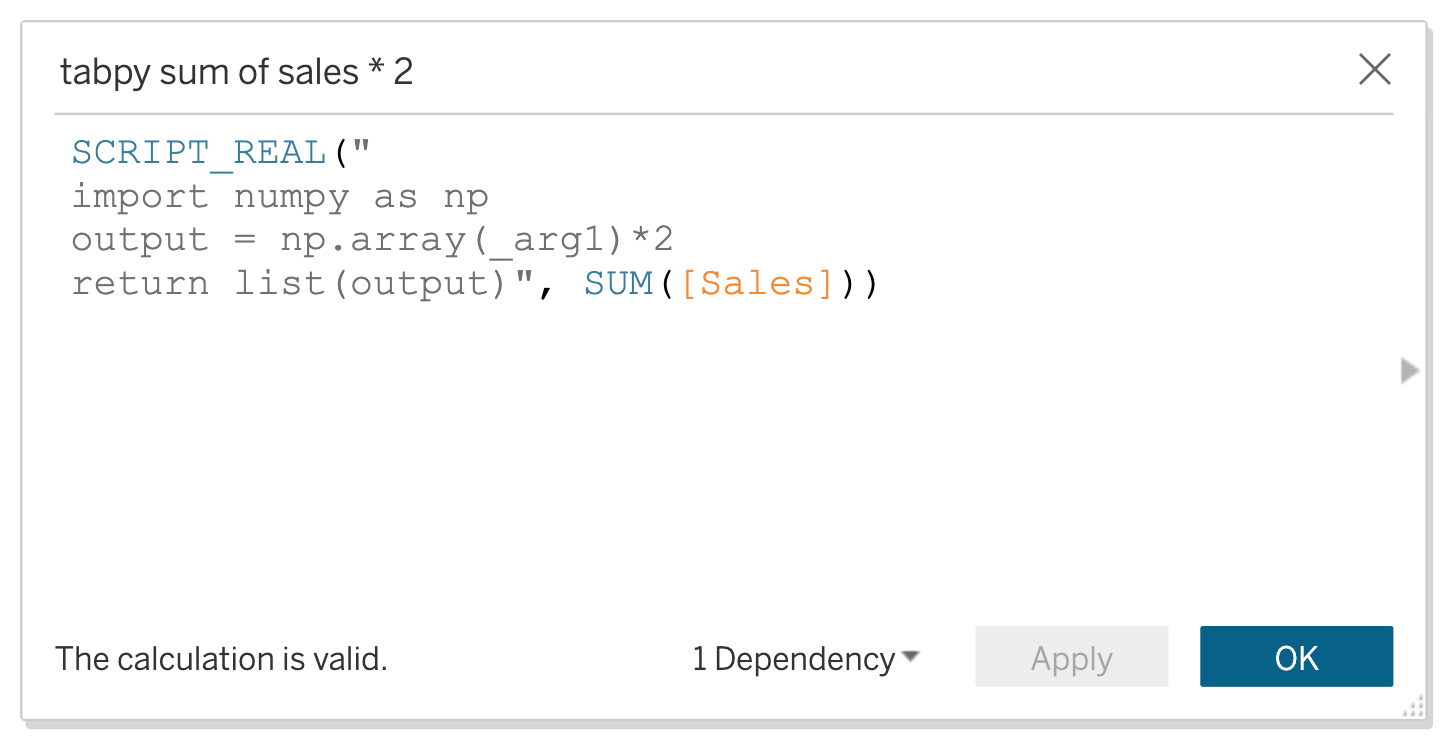
Now TabPy is available to use in the workbook, so you can create calculations like the sample one below:
Thanks for reading and, again, you can find a video walkthrough of this process here.


